
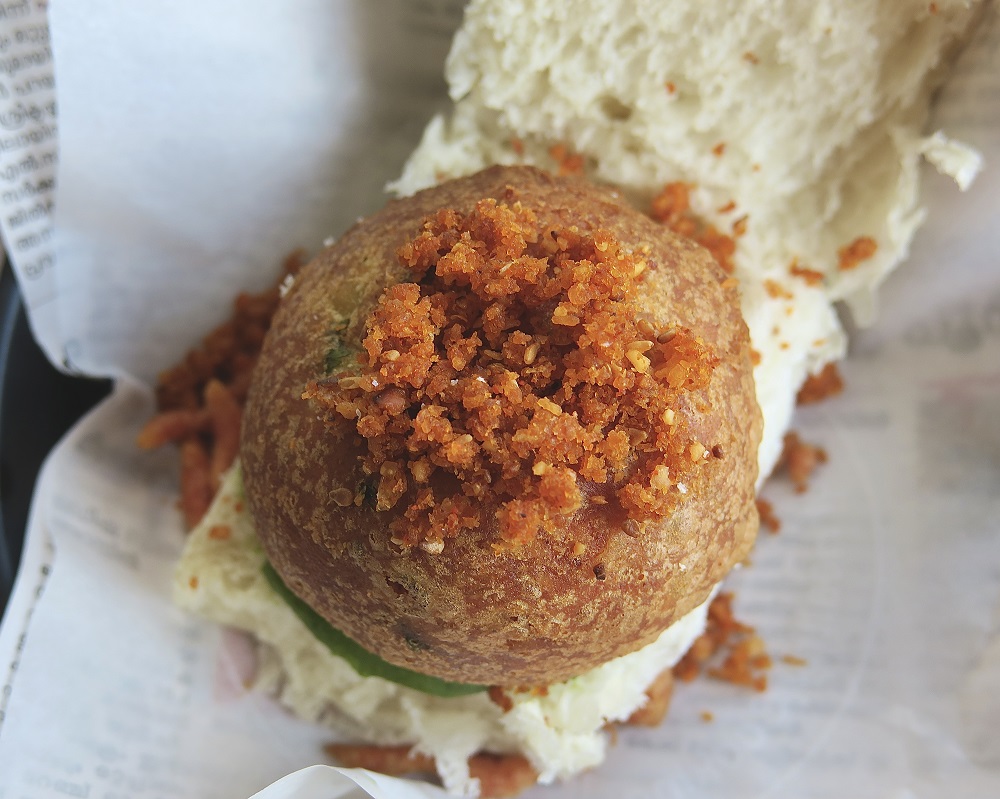
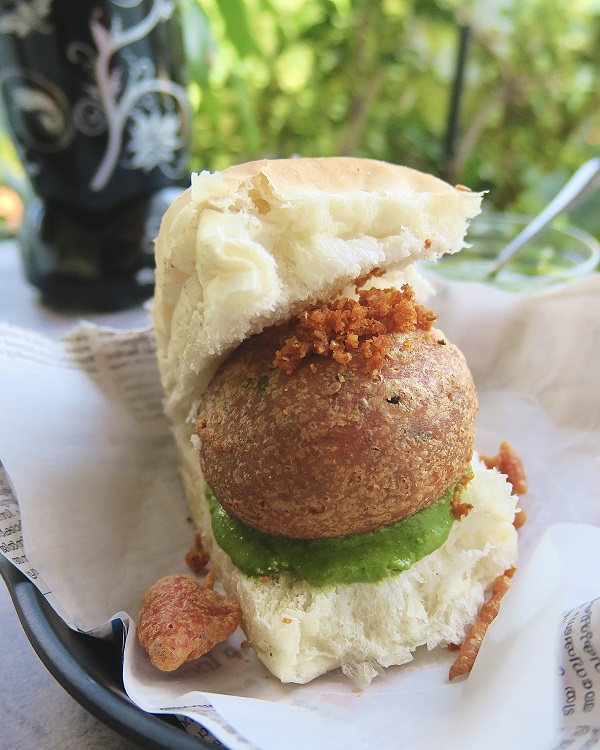
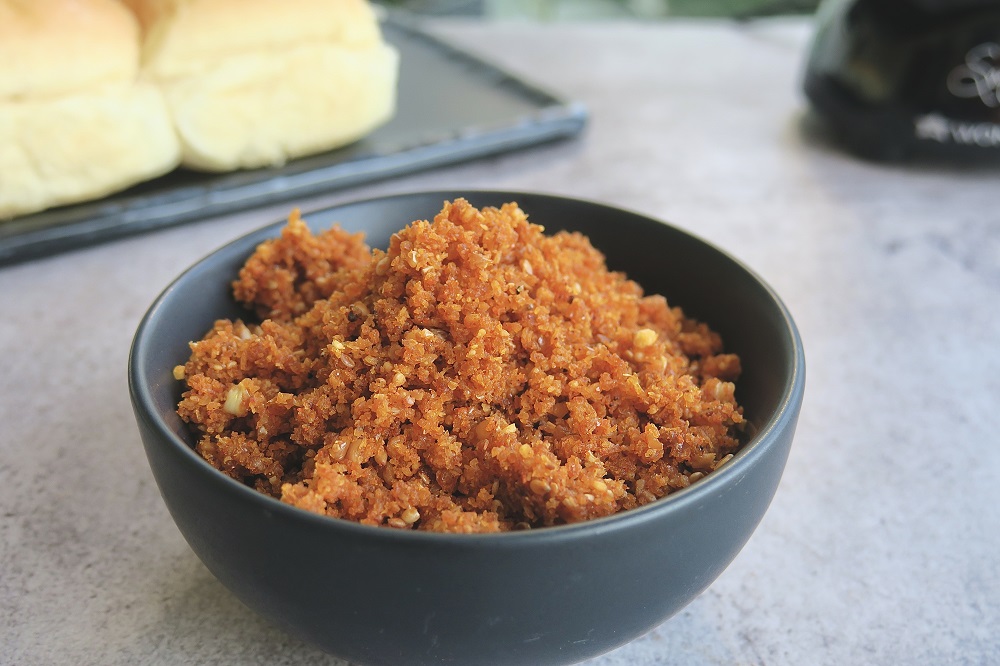
If there’s one food item everyone says you must try when you visit Mumbai, it’s Vada Pav. It’s simple, on-the-go food that’s as comforting as it is delicious. This recipe however, is for the garlic chutney that takes the humble vada pav to the next level. It’s spicy, nutty and full of wonderful garlic flavour.

Equipment
The Nutri-blend is such a saviour in the kitchen. Blending, grinding, chopping – whatever it may be, all you need is this small little machine to do the job. The machine is so easy to operate mainly because there are no switches on the body at all! Just press down and blend (or grind or chop) away. You’d think that a machine that can do all of this would take up a lot of space but this handy little blender is compact enough to fit even the smallest of kitchens.
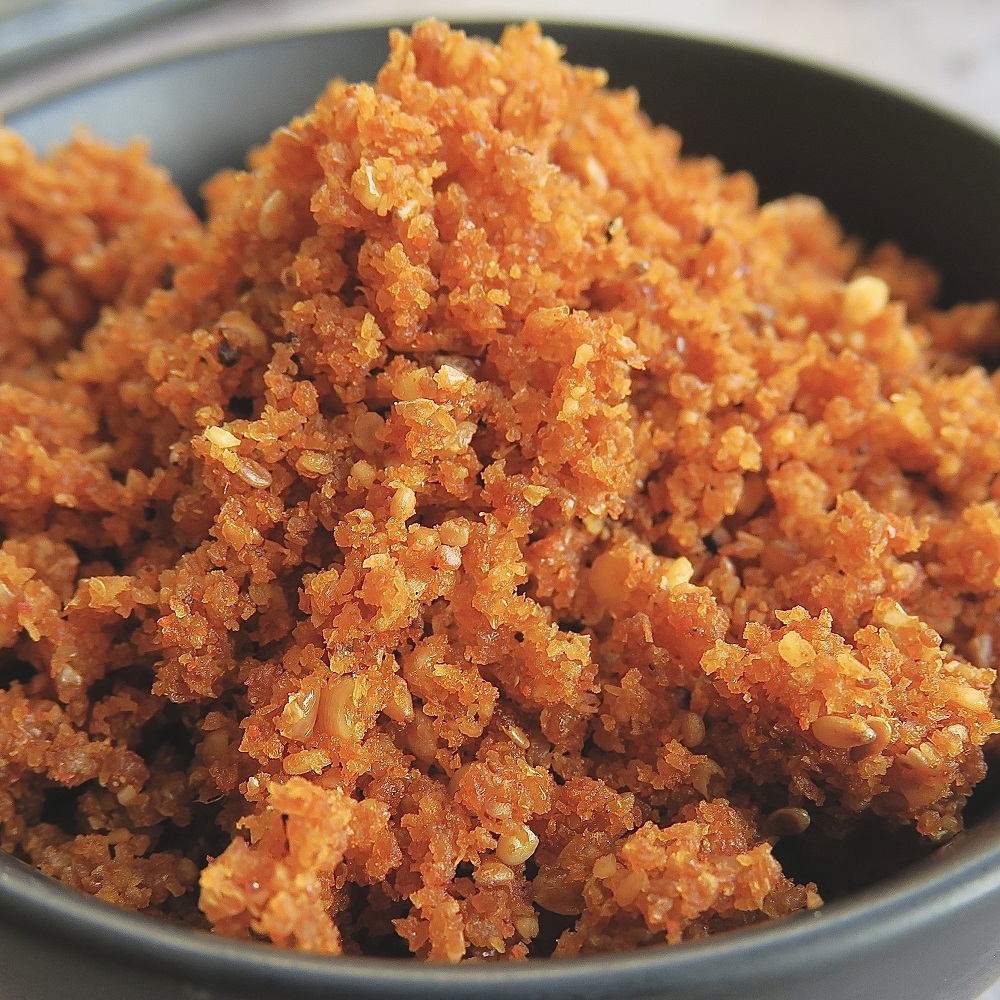
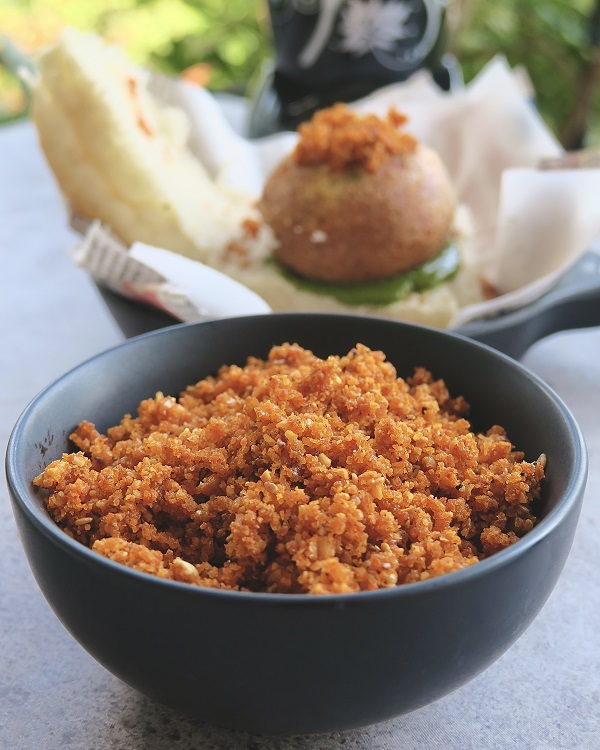
The Nutri-blend is perfect for this dry garlic chutney. You just have to keep a few things in mind to achieve the perfect clumpy but also crumbly texture. Make sure your ingredients are completely cool. Hot ingredients will release moisture making it difficult to grind. You also have to pulse the mixture instead of grinding it continuously. Over grinding will release oils from the peanuts and sesame. Scrape down the bowl if needed and just in case the mixture becomes too wet you can also heat it up for a few minutes in a pan, let it cool and return it to the grinder.
What to eat dry garlic chutney with
It goes without saying that the perfect vessel for this chutney is a vada pav. Since vada pay is essentially a sandwich, you can bet that this chutney would go great in any type of sandwich. Think street food style! You can also have it with parathas in the morning. Since it reminds me of South Indian Podi, I even like it with my idlis and dosas! Spread your dosa on the pan, add some ghee and sprinkle this chutney over for a spicy and delicious dosa. You can also sprinkle some over your morning eggs.
RECIPE CARD
Makes: 1 cup of Chutney
Time: 20 minutes
Ingredients
- 10-12 Cloves of Garlic
- 2 Tbsp Peanuts (Without Skin)
- 1 Tbsp Sesame Seeds
- ½ cup Dessicated Coconut
- 6-7 Kashmiri Chillies
- ¼ tsp Amchur
- ½ tsp Jaggery Powder
- ⅛ tsp Cumin Powder
- ⅛ tsp Coriander Powder
- ½ tsp Salt
Method:
- Peel and clean the cloves of garlic and set aside.
- Place a pan on heat and roast the peanuts until you get little brown spots on them. About 2 minutes
- Remove the peanuts and toast the sesame seeds for 2 minutes until they become golden. Keep stirring the sesame so they don’t burn.
- Remove the sesame seeds and add the desiccated coconut to the pan and toast will light golden. About 30 seconds
- Add the garlic and dry roast for about 3-4 minutes until slightly brown. Remove and set aside.
- Roast the dry red chillies for a minute and set aside.
- Let all ingredients cool completely.
- Add all ingredients to the Nutri-blend grinder jar along with all powders and salt and begin to pulse.
- Run the mixer for no longer than a few seconds each time before giving it a good shake and running it again. If operated continuously, the peanuts and sesame will start to release oil which will clump the masala together, making it difficult to grind properly.
- Once the mixture has combined properly, transfer to an airtight container until needed.

Author: Sneha Sundar is the creator of You Dim Sum, You Lose Some; a philosophy she adopts both in and out of the kitchen.

No Comments