This recipe was a happy accident. I was working on my beetroot burger recipe and when time came to photograph them I wanted the perfect bun. Unfortunately the ones I could find at my local bakeries were smushed and very sad looking. So I decided to bake not just any bun, but brioche buns! This is an enriched dough, which simply means that the dough is enhanced with the help of ‘rich’ ingredients like milk, eggs or butter. These ingredients make the final result particularly soft and fluffy.
Equipment

I made these buns in the Wonderchef 19L OTG. I had to do it in two batches but each and every bun came out perfectly thanks to the OTG’s even heating. There’s nothing more satisfying than watching these rise and brown perfectly, which is why I had my head stuck to the window for the entirety of the cook! Don’t worry though, the heat resistant glass window makes this activity of mine a lot safer! These buns are cooked at a high temperature for a short amount of time so it’s essential that the right temperature be maintained. The OTG has a maximum temperature control of 250C which makes baking at high temperatures possible in a smaller machine. I don’t have a lot of counter space in my kitchen so I appreciate how light the OTG is every time I have to take it out of my cupboard to use it!
Now if you have a stand mixer like I do, then you’ll be able to do this without breaking a sweat! Bread making is super fun and easy provided you have the right equipment like the Wonderchef Die Cast Metal Stand Mixer. Be it whipping egg whites, creaming butter and sugar or kneading dough, the stand mixer has you covered. Making this by hand will take quite a lot of effort but it can be done with a lot of elbow grease and some well timed breaks.
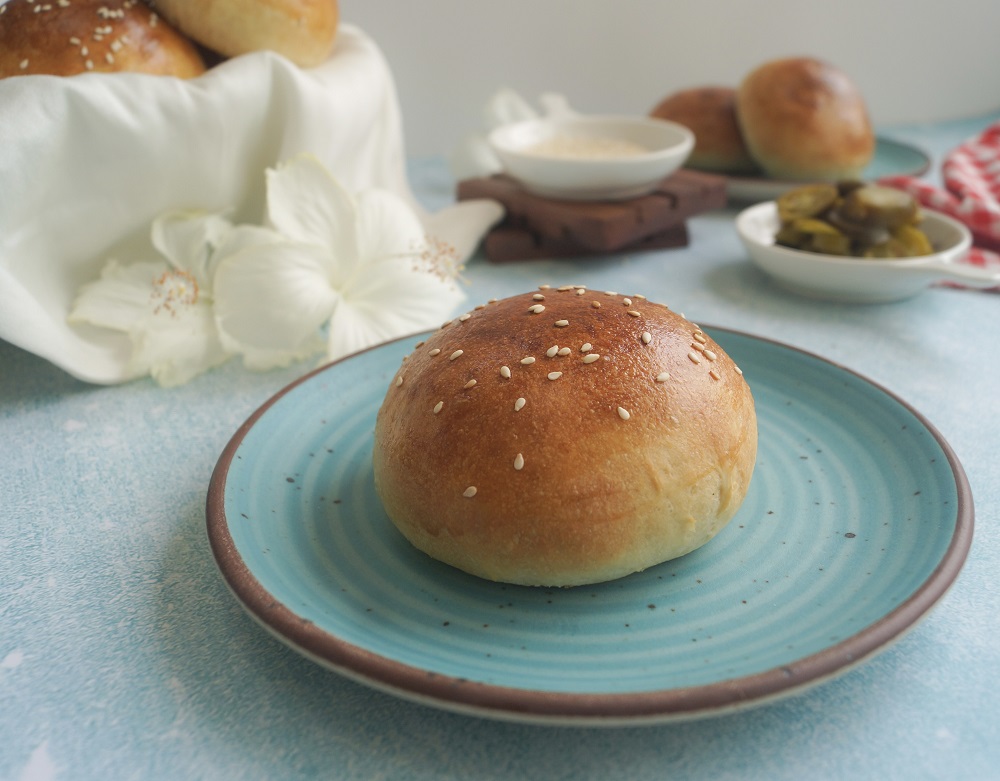
Tableware and serve ware are super important to me since I’m constantly photographing food. So imagine how happy I was when Wonderchef launched their new ! I used the Teramo Stoneware Quarter Plates – Blue to photograph these beautiful buns and the pictures speak for themselves! The bright colours are food safe and I was so pleased to know that their entire stoneware range is both microwave and dishwasher safe. I’ve been using the plates to class up my snacking game and I’ve gotten so many compliments on how cute they are. Check out the entire Teramo Collection to find your favourites!
How To Shape Brioche Buns
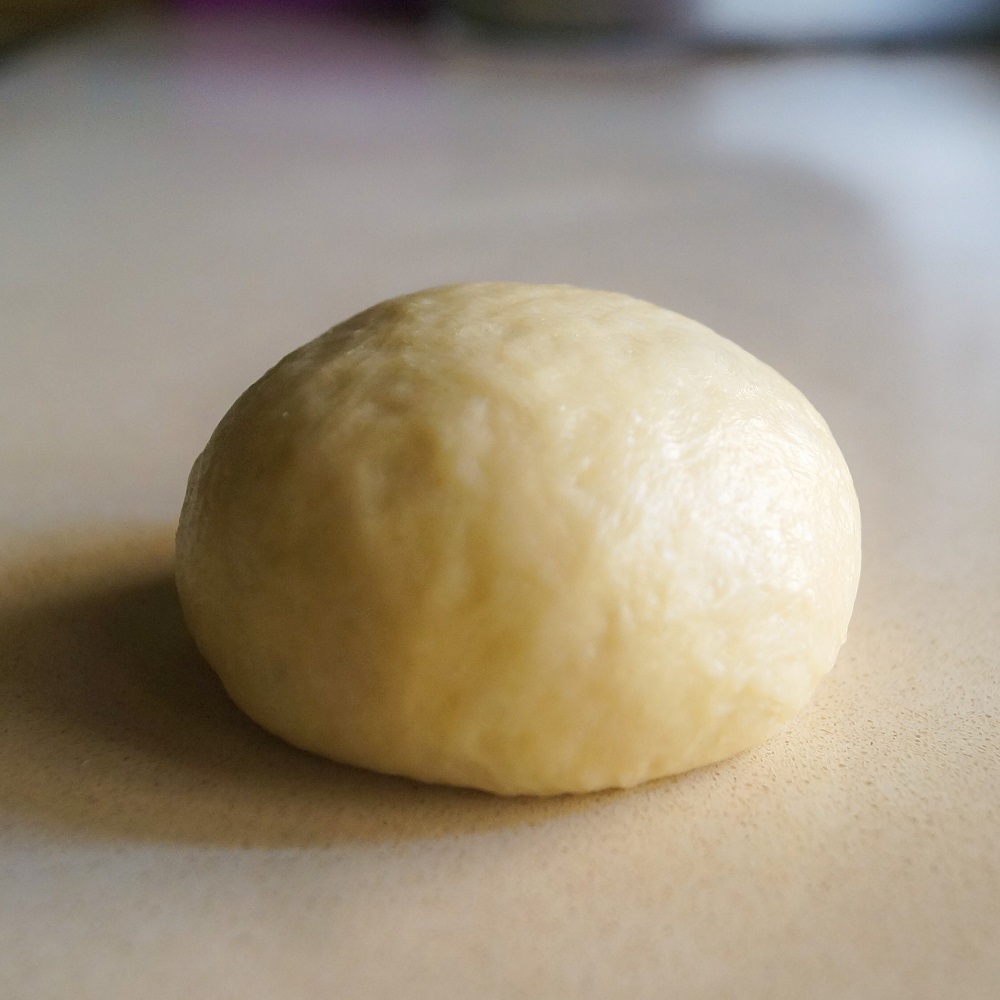
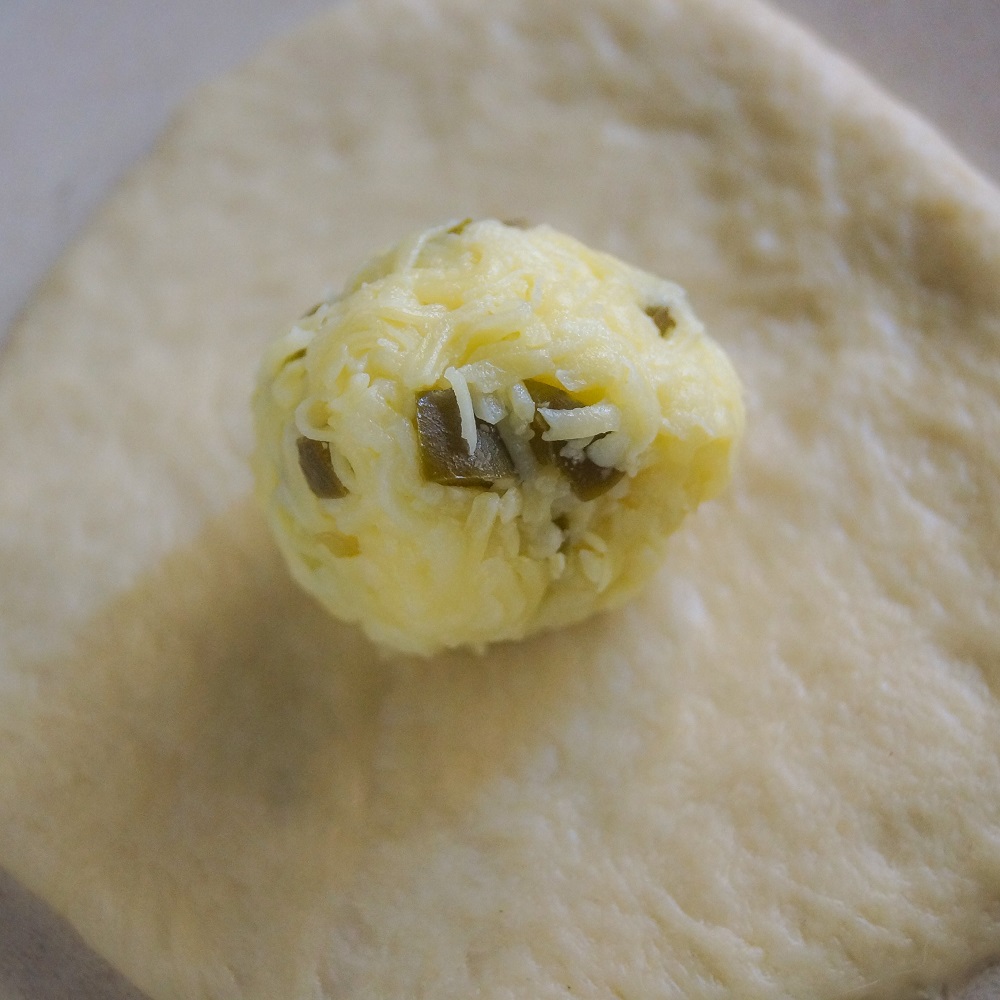
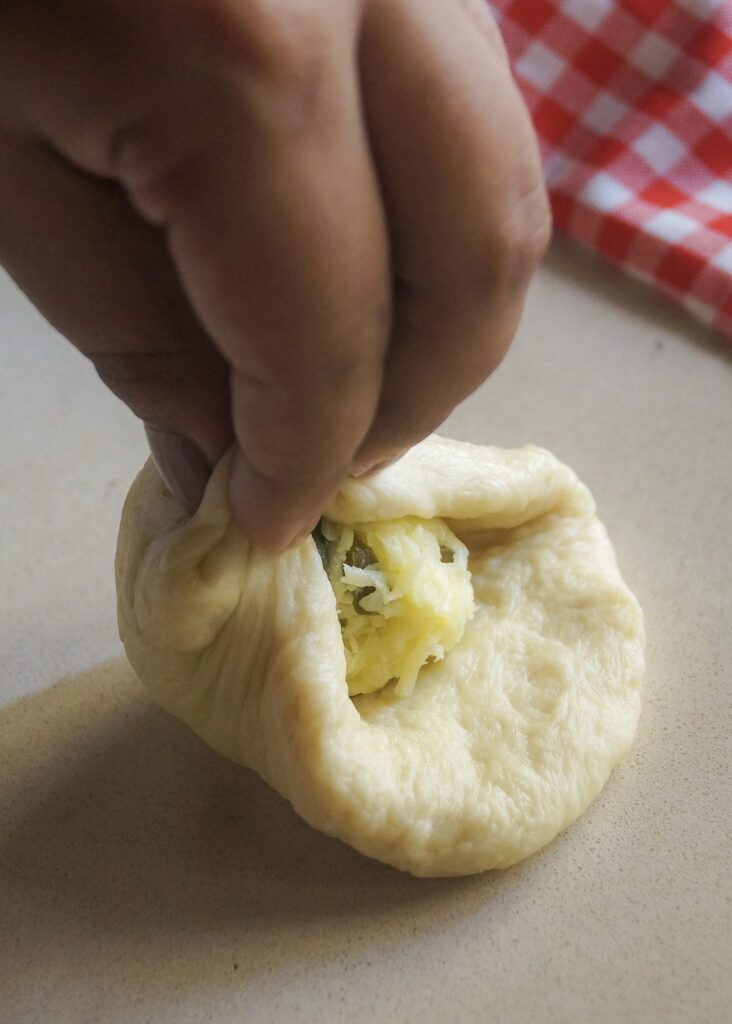
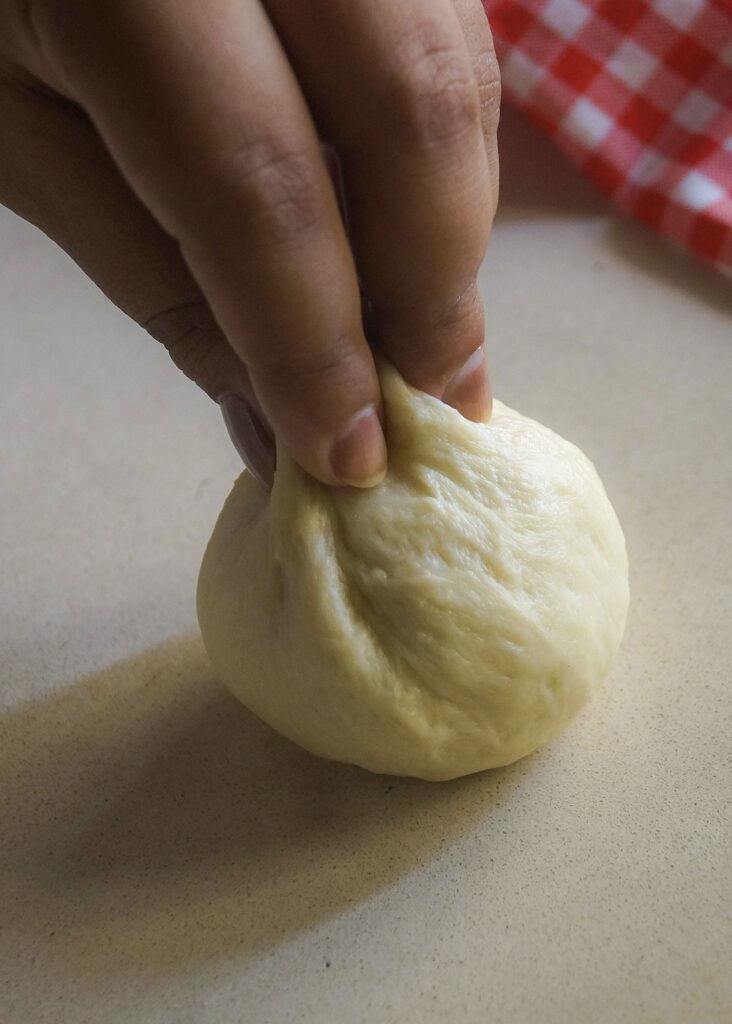
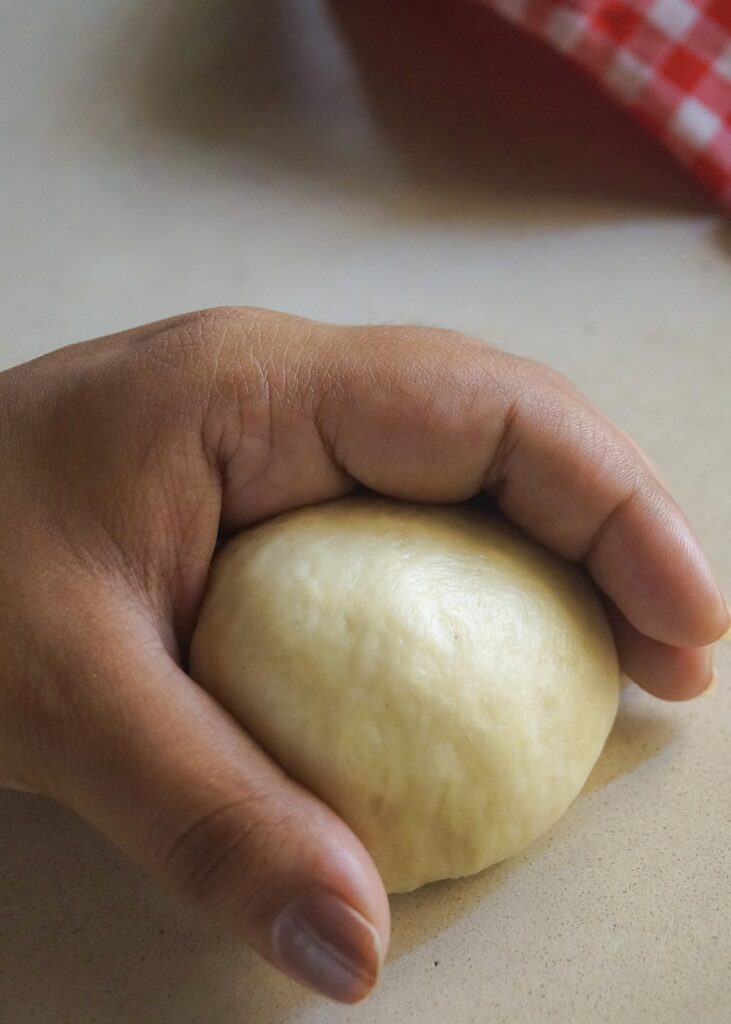
Shaping is a crucial part of the recipe. These buns need to hold all that delicious filling in without it spilling out while cooking. The first step is to always keep track of the smooth side of the dough. While dividing the dough into individual balls, try to make sure the smooth side remains on top. The second step is to resist the temptation to overstuff the buns! I know we all want more filling but it’s more important we have a filling that stays in its place! Pinch the dough properly to make sure it is sealed. Refer to the pictures above and the instructions below for more details!
How To Customise Brioche Dough
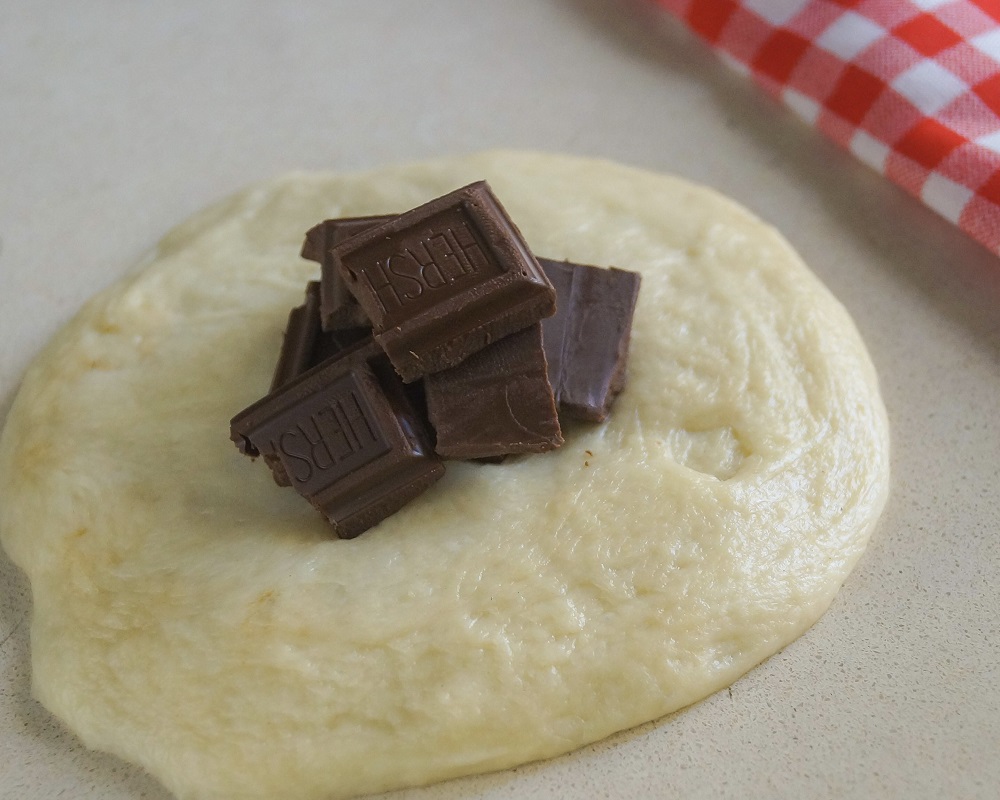
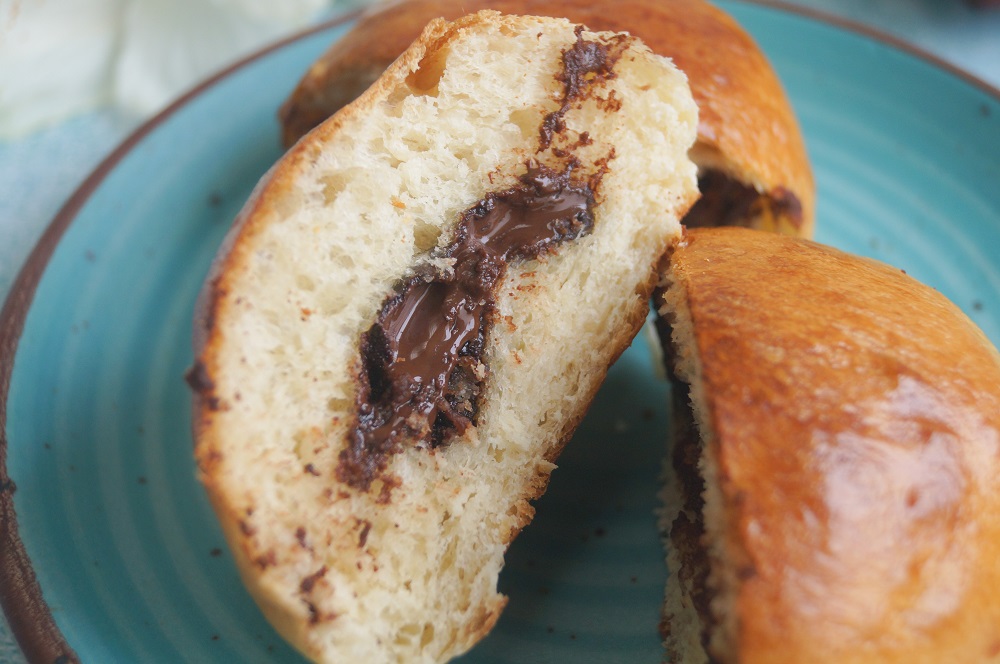
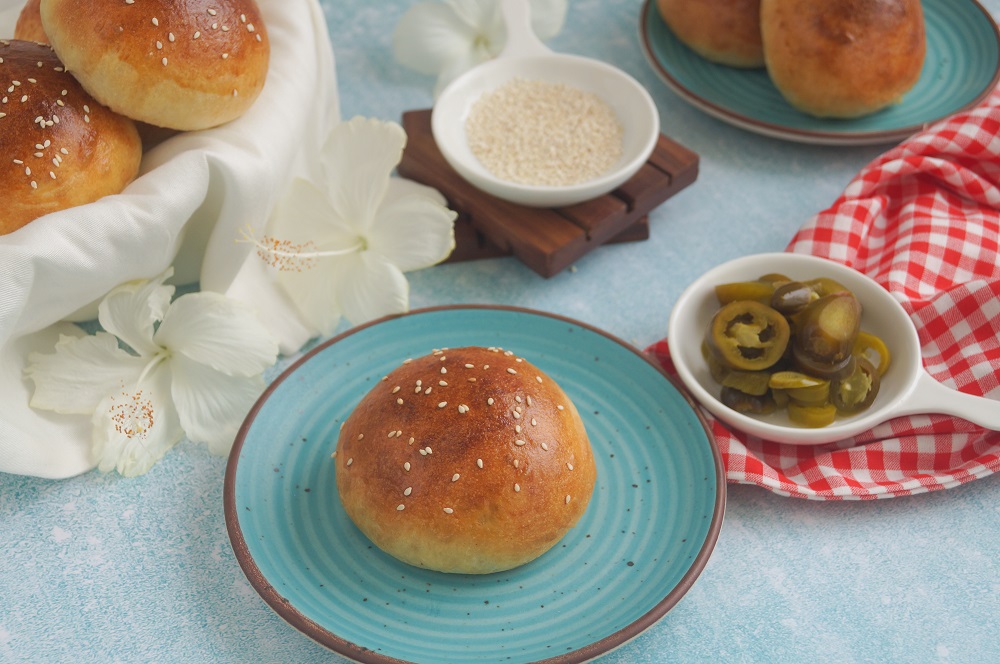
Think of this as a basic brioche dough. The possibilities are endless with it! I’ve chosen to stuff them with cheese and jalapeños but you can stuff them with chocolate, fruit, nutella, minced meat or even potato masala for a twist on the classic vada pav. Brioche buns are also great for french toast and as I mentioned earlier, as burger buns. This recipe makes 8 large buns but you can divide them further to make 16 mini buns as well. If you’re stuffing the mini buns don’t forget to divide the stuffing as well! I like to top my savoury buns with sesame seeds but if I’m making chocolate buns I prefer topping them with flaky sea salt.
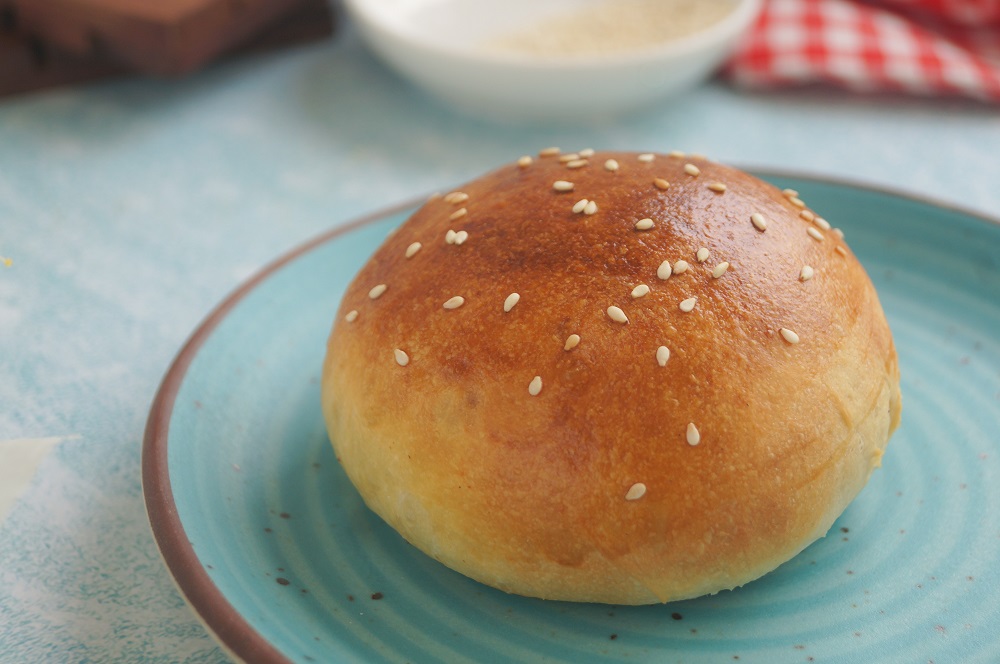
This recipe might seem daunting at first but don’t let the long list of steps fool you. They’re only there to make things crystal clear. These buns are actually super easy to make and there’s only 50 minutes of active cooking time. After the first rise, the dough can also be stored in the refrigerator for about 2-3 days. Sometimes I’ll make the dough the night before and then the next day all I have to do is fill and shape the buns. Be sure to allow the dough to come to room temperature once you take it out of the fridge. I would suggest getting a kitchen scale if you plan on doing a lot of bread baking since it’s always easier to go by grams, but I’ve included both measurements below.
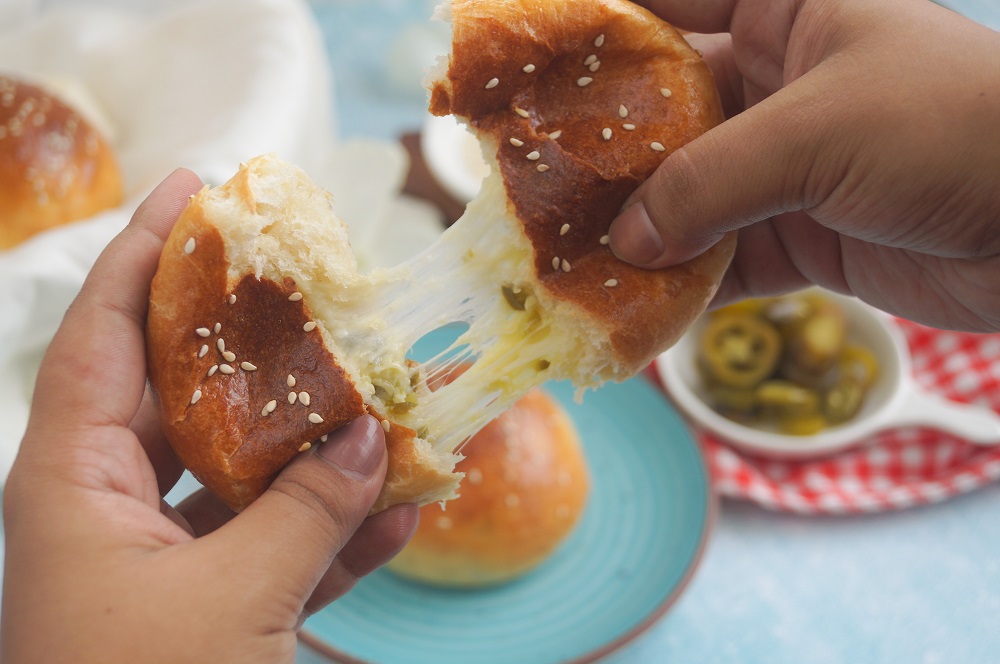
For optimum enjoyment (and cheese pull), dig into these buns while they are still warm from the oven!
Happy baking!
RECIPE CARD
Makes: 8 large stuffed buns
Time: Active: 50 minutes
Proof Time: 4 1/2 hours
Total Time: 5 Hours and 20 minutes
Ingredients
- ½ Cup Milk (120g)
- ½ Tbsp Active Dry Yeast (6g)
- 2 ½ Tbsp Sugar (30g)
- 2 Cups Bread Flour (280g)
- ¼ tsp Salt
- 1 Egg (50g without the shell)
- ½ cup Unsalted Butter (Softened) (56g)
- ¾ Cup Shredded Mozzarella Cheese (80g)
- ¾ Cup Shredded Sharp Cheddar Cheese (80g)
- ¼ cup + 2 Tbsp finely chopped Jalapeños (48g)
- 1 Egg (for egg wash)
Method:
- Heat the milk in a microwave for 30 seconds until it is lukewarm.* Add the sugar and yeast to the milk and stir well. Set aside for 15 minutes.
- Meanwhile, measure the flour and salt into the bowl of your stand mixer, fitted with the dough hook. When measuring flour, use the scoop and level method. Scoop it into your measuring cup and level with the back of a spoon for the most accurate measurement.
- Once the yeast has risen** Add the egg to it and beat well.
- Add the liquid mix to the flour and start the machine on low speed for about 2 minutes. Increase the speed and continue to mix for another 4-5 minutes.
- Once the dough comes together, let it rest for 15 minutes. This will develop the gluten a bit in the dough and help with the next step.
- Once your dough is rested, start the machine up again and add the softened butter a little bit at a time. The dough will look like a mess as you add the butter but don’t worry it’ll all come together soon! Mix for 6-7 minutes until you have a smooth pliable ball of dough and a clean bowl.***
- Transfer the dough onto a clean work surface and knead it briefly. Apart from being incredibly therapeutic, this also helps you get a feel of the dough. If the dough is too sticky you can add a little bit more flour. Shape it into a smooth ball with the seam at the bottom.
- Place the dough into a lightly oiled bowl, smooth side up and cover with a damp kitchen towel. Let it rise for 2 hours or until doubled in size.
- While the dough is rising, grate and measure the two cheeses and chop and measure the jalapeños. Mix the two together and let it hang out in the fridge until the dough is ready.
- Once the dough has doubled, grab the cheese-jalapeno mix from the oven and shape it into 8 ping pong sized balls, about 20-24g each. Set aside
- Transfer the dough back to your work surface and divide into 8 equal balls. You can sprinkle your surface with some flour if the dough is too sticky. You can use a scale to divide it evenly. Each of my portions was about 63g.****
- Flatten each ball and roll it out to the size of a coaster and place a cheese ball into the centre. Thin out the edges some more, gather them up and pinch together to seal. (See pictures)
- Once the bun is sealed, place it smooth side up and cup your hand around it while circling it on the tabletop. Press down gently while circling to seal the edges properly. Check the bottom of the bun to see if you need to pinch together any of the seams. We don’t want that delicious filling to spill out!
- Place it on a baking sheet lined pan and cover with a damp towel.
- Repeat with the other 7 portions.
- Let the buns rest for another 2 hours or until they’ve doubled in size.
- Set your oven temp to 200C and let it preheat for 15 minutes.
- Once the buns have doubled in size, gently brush them with egg wash and sprinkle some sesame seeds on top of each bun.
- Transfer the buns to the oven and bake for 9-10 minutes. The tops should be brown, hard and sound hollow when you tap on them. Don’t worry, the crust will soften once you take it out of the oven.
- Allow them to cool for 5 minutes before digging in!
Notes:
- Here’s a good way to tell if your liquid is at the right temperature for the yeast. Give the milk a good stir after you take it out of the oven and then stick your (clean) finger into the centre. The milk should feel warm but not so warm that you can’t keep your finger in for a few seconds.
- The yeast is ready when it has a foamy top and characteristic yeast-y smell. The top should resemble the head of a beer.
- To see if your dough is done, you can do the windowpane test. Take a small piece of dough and stretch it lightly with your fingers. It should stretch without any tears until you can see light passing through it.
- Since we’re stuffing these, it’s best that the buns be fairly even.
Author: Sneha Sundar is the creator of You Dim Sum, You Lose Some; a philosophy she adopts both in and out of the kitchen.

No Comments